Friday, 23 August 2024

Simon Says Stamp Swing Blossoms


Hi Lovelies...

For my cards today, I used a new die that I bought from Simon Says Stamp.. it's called Swing Blossoms - and of course, when I saw it, I knew I'd have to buy it!

So, I diecut it from white cardstock, which I then coloured with Copics.  Even though the main die has the flowers on...  there are separate flowers to be coloured and adhered to the main die cut.  I also cut these flowers from gold glitter card, so I could just use the centres in the pink.

I then diecut a stitched, scalloped circle from from MFT in pink card, to lay the blossom diecut onto.  I put plain card behind the frame, which I'd stamped with the sentiment.

I used a swiss dots embossing folder to create the background, then adhered the circle.  Lastly, I layered the dotty background to a pink square panel.  I added some gold flower centres under the sentiment, then a butterfly that I'd diecut in gold mirri card.


Card Info:
Dies - Simon Says Stamp Swing Blossoms, MFT Stitched Scalloped Circle Frame
Hero Arts Butterfly Confetti
Colouring - Copics

Now, I created a second card, using similar colours on the blossom, but using a plain white card panel and base, and a diecut 'hello' word from the Altenew Sweet Sentiments set using glitter card.


I wonder which is your favourite??


Hope you like what I made...

Big hugs

Monday, 19 August 2024

Leaf Branch Rainbow Colours


Hi There...

Today I'm sharing three cards I made with a similar design...  using a tiny branch/leaf die that I cut from card that I'd shaded with Distress Oxides and splattered with water and gold watercolour paint.

They were relatively easy to make after the DO blending and diecutting...  I laid the diecut branches to one side, then cut a stitched rectangle card base, and another stitched rectangle that I used border dies about a third of the way along.  I added thin foam tape under the smaller panel, adhering the branches/leaves to the back, so that they showed under the diecut edge.  Following so far???

I adhered the small panel to the larger card panel, making sure the edges matched.  Then I added a small sentiment that I'd created on the PC, with the thin foam tape... and a few gems to finish.  Finally I adhered the panel to my card base.


Card Info:
Dies - Leaf/Branch - no name, sorry; MFT Stitched Rectangle Dies, 
Pretty Pink Posh Stitched Borders, MFT Stitched Scalloped Basic Edges 2
MFT Skinny Strips (for sentiment)
Sentiment own - made on PC
Distress Oxides - Kitsch Flamingo, Dried Marigold, Scattered Straw, 
Twisted Citron, Mermaid Lagoon, Wilted Violet
Gems
Gold Watercolour Paint

Scroll down for different versions!


For this one, I put an extra scalloped border on the right hand side - mainly because I spilled a drop of glue, so had to cover it up! See? We can generally make things right after a mess!


And lastly - one with a different border die - I just didn't think it was a large enough pattern for the card.


I'm sorry about the photographs - both the amount, and the standard!  It's been raining here today, so we've had no brightness to get good pics!

Anyways.... thanks for sticking to the end... hope you like my cards, which I promise look better in real life!

Big hugs

Saturday, 17 August 2024

Spellbinders Layered Anemones


Hi Peeps...

Today I'm sharing another card using Spellbinders dies..  this is a relatively CAS one compared to the last, with just the two flowers and the stem.

I decided to do bit of stenciling for the background - I used two stencils - one striped and one circle, then two Distress Oxides to give a graduation of colour.

Finally I added a little sentiment, then layered the panel onto a pink base, and it was done.


Card Info:
Dies - Spellbinders Layered Anemones, MFT Stitched Rectangles
Stencils - Pretty Pink Posh Wide Stripes, Taylored Expressions Circle
Distress Oxides - Kitsch Flamingo, Worn Lipstick and Fossilized Amber
Sentiment - Clearly Besotted Fancy That
Gems

 Hope you like what I did... I think I may make a few of these to have in stock, maybe in different colours etc.

Happy Crafting...

Tuesday, 13 August 2024

Spellbinders Be Bold Blooms


Hi Lovelies..

Today, my card is one I've wanted to make for ages - I've had the die set quite a while, but I knew it would take a bit of organisation and lots of die-cutting etc to get done.... which put me off starting it for a little bit!

Anyways...  I got around to it this weekend...  and I was right!  My desk looked like a tip by the time I'd finished with lots of little bits of coloured card etc!  It's a large die set, so firstly, I cut a magnetic sheet to keep all the dies in their place while I used them - and hey - I didn't lose one!  I used Distress Inks onto white card for some of the colours, and used pre-coloured card for others.  I laid all the flowers onto a diecut oval and adhered them slowly until I was happy with their placement.  I added the oval to a piece of embossed cardstock then onto my card base, and lastly, added a small sentiment that I'd die cut from gold glitter cardstock, with a white shadow.  Finally, I added a touch of gold glitter glue on to the centres of the flowers.... better seen in real life.


Card Info:
Floral Die Set - Spellbinders Be Bold Blooms
Oval Die - Spellbinders Oval Bliss
Embossing Folder - Spellbinders Loops Embossing Folder
Sentiment - Altenew Sweet Sentiments Dies
Gold Glitter Card and Gold Glitter Glue

I've got to say, it took me a fair amount of time to complete this card - both for the design thinking and then the making, but I didn't sit at it for long each time - life was busy, so my card making takes a back seat!

And now I've seen what it looks like finished, I know I'll make more!  I've got a lot of flowers and leaves left still to use, so another one at least, will be easy!

Hope you like...

Hugs

Wednesday, 7 August 2024

WPlus9 Doodle Buds


Hi Lovelies...

For my card today, I decided to go bold!  I've had this stamp set from Wplus9 for some years (I think I've only used it once, if that...), but it's a set that always makes me WANT to make a card...  so with my lack of mojo, out it came!

I coloured the flowers in bright colours, then fussy cut them and laid them around and adhered them to a circle die cut - which I'd stamped with one of the sentiments in the set.

Then I created my card base by adhering designer paper to one side, and some embossed card on the other.  I added the circle and a few gems to finish, and it was done.


Card Info:
Images and Sentiment - Wplus9 Doodle Buds
MFT Pierced Circle Die
Crafters Consortium Ink Drops Candy Paper Pad
Altenew Angled Mosaic Embossing Folder
Colouring - Copics
RV63/55/17  BG11/13  V04/06/09
YR61/65/04/24  G24/46
White Gel Pen
Gems

Hope you like how it turned out as much as I did!

Big hugs...

Thursday, 1 August 2024

Waffle Flower Daisy Background

Hi Lovelies..

Firstly, I'm sorry that I've not been posting much recently - life has been busy, and to be quite honest, I've felt a little overwhelmed with the amount of stash in my craft room.  Yes, I admit it, I'm a craft-aholic!!  I go in there and am over-faced!  I don't know what to pick up and make... so end up doing a tiny bit (yes, a very tiny bit) of tidying. It all needs a clear out and a declutter... hopefully I'll get to do that soon, so my mojo may come back!  Anyone recognise the feeling??

Today I'm sharing a card a made a couple of weeks back - using the gorgeous Daisy background stencil from Waffle Flower.  I used Distress Oxides through the stencil, and added a tiny bit of glitter in each flower centre.  

Then I diecut the Smile word and shadow from Honey Bee, and a tiny flower from Creative Depot.  I used rose gold matt card for the word and the flower, giving them depth by cutting each die 3 times and layering them together.


Card Info:
Waffle Flower Daisy Background Stencil
Honey Bee Stamps Smile/shadow die
Flowers - Creative Depot Doodle Blumen
Rose Gold Matt Cardstock
Distress Oxides
Glitter


I struggled to get a photograph that shows the colour the card actually is - but these are the best of a bad bunch.  Think (and I hate to say this), that it was TOO light for the photos!

Happy Crafting..


Monday, 22 July 2024

Sunny Studio Fabulous Flamingos


Hi Peeps...

At this time of year, when the sun shines (OK, it's not often lately here in the UK), I like to create cards with summer in mind.  This stamp set is one of my favourites for that...  it's from Sunny Studio Designs.  

Firstly, I coloured and fussy cut the flamingos and leaves etc, then laid them to one side while I blended a background panel. I was inspired for the background by mariekeslaats who had also used these flamingos on ATC's - thank you for the inspiration..  I couldn't get the light pastel shades that she managed using Distress Inks, I think I'm too heavy handed, so I tried Distress Oxides, and was happy with the result.

I did some splattering, both of water and white paint - then adhered the flamingos and leaves etc..  adding a sentiment from the set which I'd heat embossed on some of the card I'd trimmed from the panel I'd made.  Lastly I added then sun!


Card Info:
Image and Sentiment - Sunny Studio Fabulous Flamingos
Dies - Lawn Fawn Spring Showers (sun), Lil' Inkers Stitched Banner
Distress Oxides - Cracked Pistachio, Peacock Feathers, Dried Marigold
Saltwater Taffy,  Worn Lipstick, Picked Raspberry
Colouring - Copics
Flamingos - R00/01 RV42/13
Greens - YG21/23/25 G24
Pineapple - YR24 Y26
Watermelon - R43/08 G46
Water and White Paint to splatter

Confession - I did add a few gold sequins to this card after I'd photographed it - I felt it needed that little lift!

Big hugs

Friday, 19 July 2024

MFT Just Ducky


Hey Peeps

Today I'm sharing a card I made for my lovely eldest grand-daughter whose birthday it was last weekend.... she was 6!!  Now, when I asked her what she wanted for her birthday, she said 'a ducky!' - so that's what I got for her as her gift (a soft toy one that is, not a real one!)

But, going with the 'ducky' theme - I decided to create a card for her using this stamp set from MFT..  I love these little ducks who are out to play!  I coloured and fussy cut them, before laying them to one side while I created the card panel.  I used large alphabet letters for her name, adding acetate, then foam tape to the back of the letters.  I adhered glitter card in white to show through, giving the card depth.  I used a bit of pink smooshed cardstock that I had in my bits box for the border, then added the ducks, and the birthday sentiment.


Card Info:
Images - MFT Just Ducky
Dies - Altenew Large Alphabet, 
Pretty Pink Posh Borders 2
Sentiment - MFT Itty Bitty Buzzwords
Pink Smooshed card
White Glitter Card
Colouring - Copics
Ducks - Y15/18/38 YR04
Clothes - BG10/11/13 B21/23/26 
RV52/63/55 R81/83/85

Hope you like my ducky make as much as my grand-daughter did!

Big hugs


Sunday, 14 July 2024

Pink Fresh Studio Beautiful Branch


Hi Peeps

Today, I'm sharing a floral card I made using the fabulous Beautiful Branch stamp and die set from Pink Fresh Studio.  I coloured and die cut the image, then created a background by smooshing Distress Oxides onto some Bristol Smoosh, then die cut the panel using a scalloped rectangle die.

I adhered the image with 3D foam pads, then die cut a 'hello' word in gold mirri, backing it with white cardstock. I added the word to the panel - this time without foam pads.  Lastly, I added a few gems and a tiny bit of glitter into the centre of the flowers.


Card Info:
Image and Die - Pink Fresh Studio Beautiful Branch
Dies - Whimsy Stamps Fa Doodle Scalloped Rectangle, 
Honey Bee Bitty Buzz Words - Hello
Distress Oxides for smooshing - Worn Lipstick, Picked Raspberry and 
Saltwater Taffy
Colouring - Copics
RV10/11 R81/83/11
G21/24
Mirri Card and Gems

I love cherry blossom - I have a huge tree in my garden that blooms every May.  Well it's pink - so what more can I say???

Happy Crafting...

Friday, 12 July 2024

MFT You Bring Sunshine


Hi There...

OK - it's been an MFT sort of week!  My last card of the week is another image from the You Bring Sunshine set (I'm secretly hoping for sunshine here in the UK!)

This little guy is so cute clutching his flowers to give for someone's birthday.  I coloured and fussy cut him, then die cut a stitched rectangle.  I added a small sentiment then adhered the bear with foam pads.  I then added the panel to a dotty card panel and then onto my card base.


Card Info:
Image - MFT You Bring Sunshine
Sentiment - LOTV Simply Sophisticated Sentiment Set
Dotty Cardstock - Anna Marie Designs
Die - MFT Stitched Rectangle
Colouring - Copics
Bear - E30/31/33
Top - BG10/11/13
Jeans B21/23/26
Flowers - R81/83

Hope you like this little cutie as much as I do!

Happy Crafting...

Wednesday, 10 July 2024

MFT You Bring Sunshine


Hi Peeps..

Today my card is using a newish stamp set from MFT called You Bring Sunshine.  I decided to keep it relatively clean and simple, so I did a bit of Distress Ink blending onto a card panel, then coloured, fussy cut and adhered (with foam pads) the images you see. 

Finally, I added a tiny sentiment from the MFT Itty Bitty Basic sentiment set, then added the panel to my card base. 


Card Info:
Image - MFT You Bring Sunshine Stamp Set
Sentiment - MFT Itty Bitty Basics Set
Distress Inks - Tumbled Glass and Twisted Citron
Colouring - Copics
Bear - E30/31/33
Top - R81/83/85
Jeans - B23/26
Birds - Y15/18/39 YR04
Grounding - C0/1

Hope you like!

Happy Crafting....

Monday, 8 July 2024

MFT Love You a Bunch


Hi Lovelies...

Well I have to own up - I've been quiet a little while - though it's not because I've not been making... I've been making a LOT, but not getting around to putting them online.  Don't know why - I really need to schedule a slot to sit at my PC and get them uploaded!  Anyways.. I now have a few to upload - so here's the first..

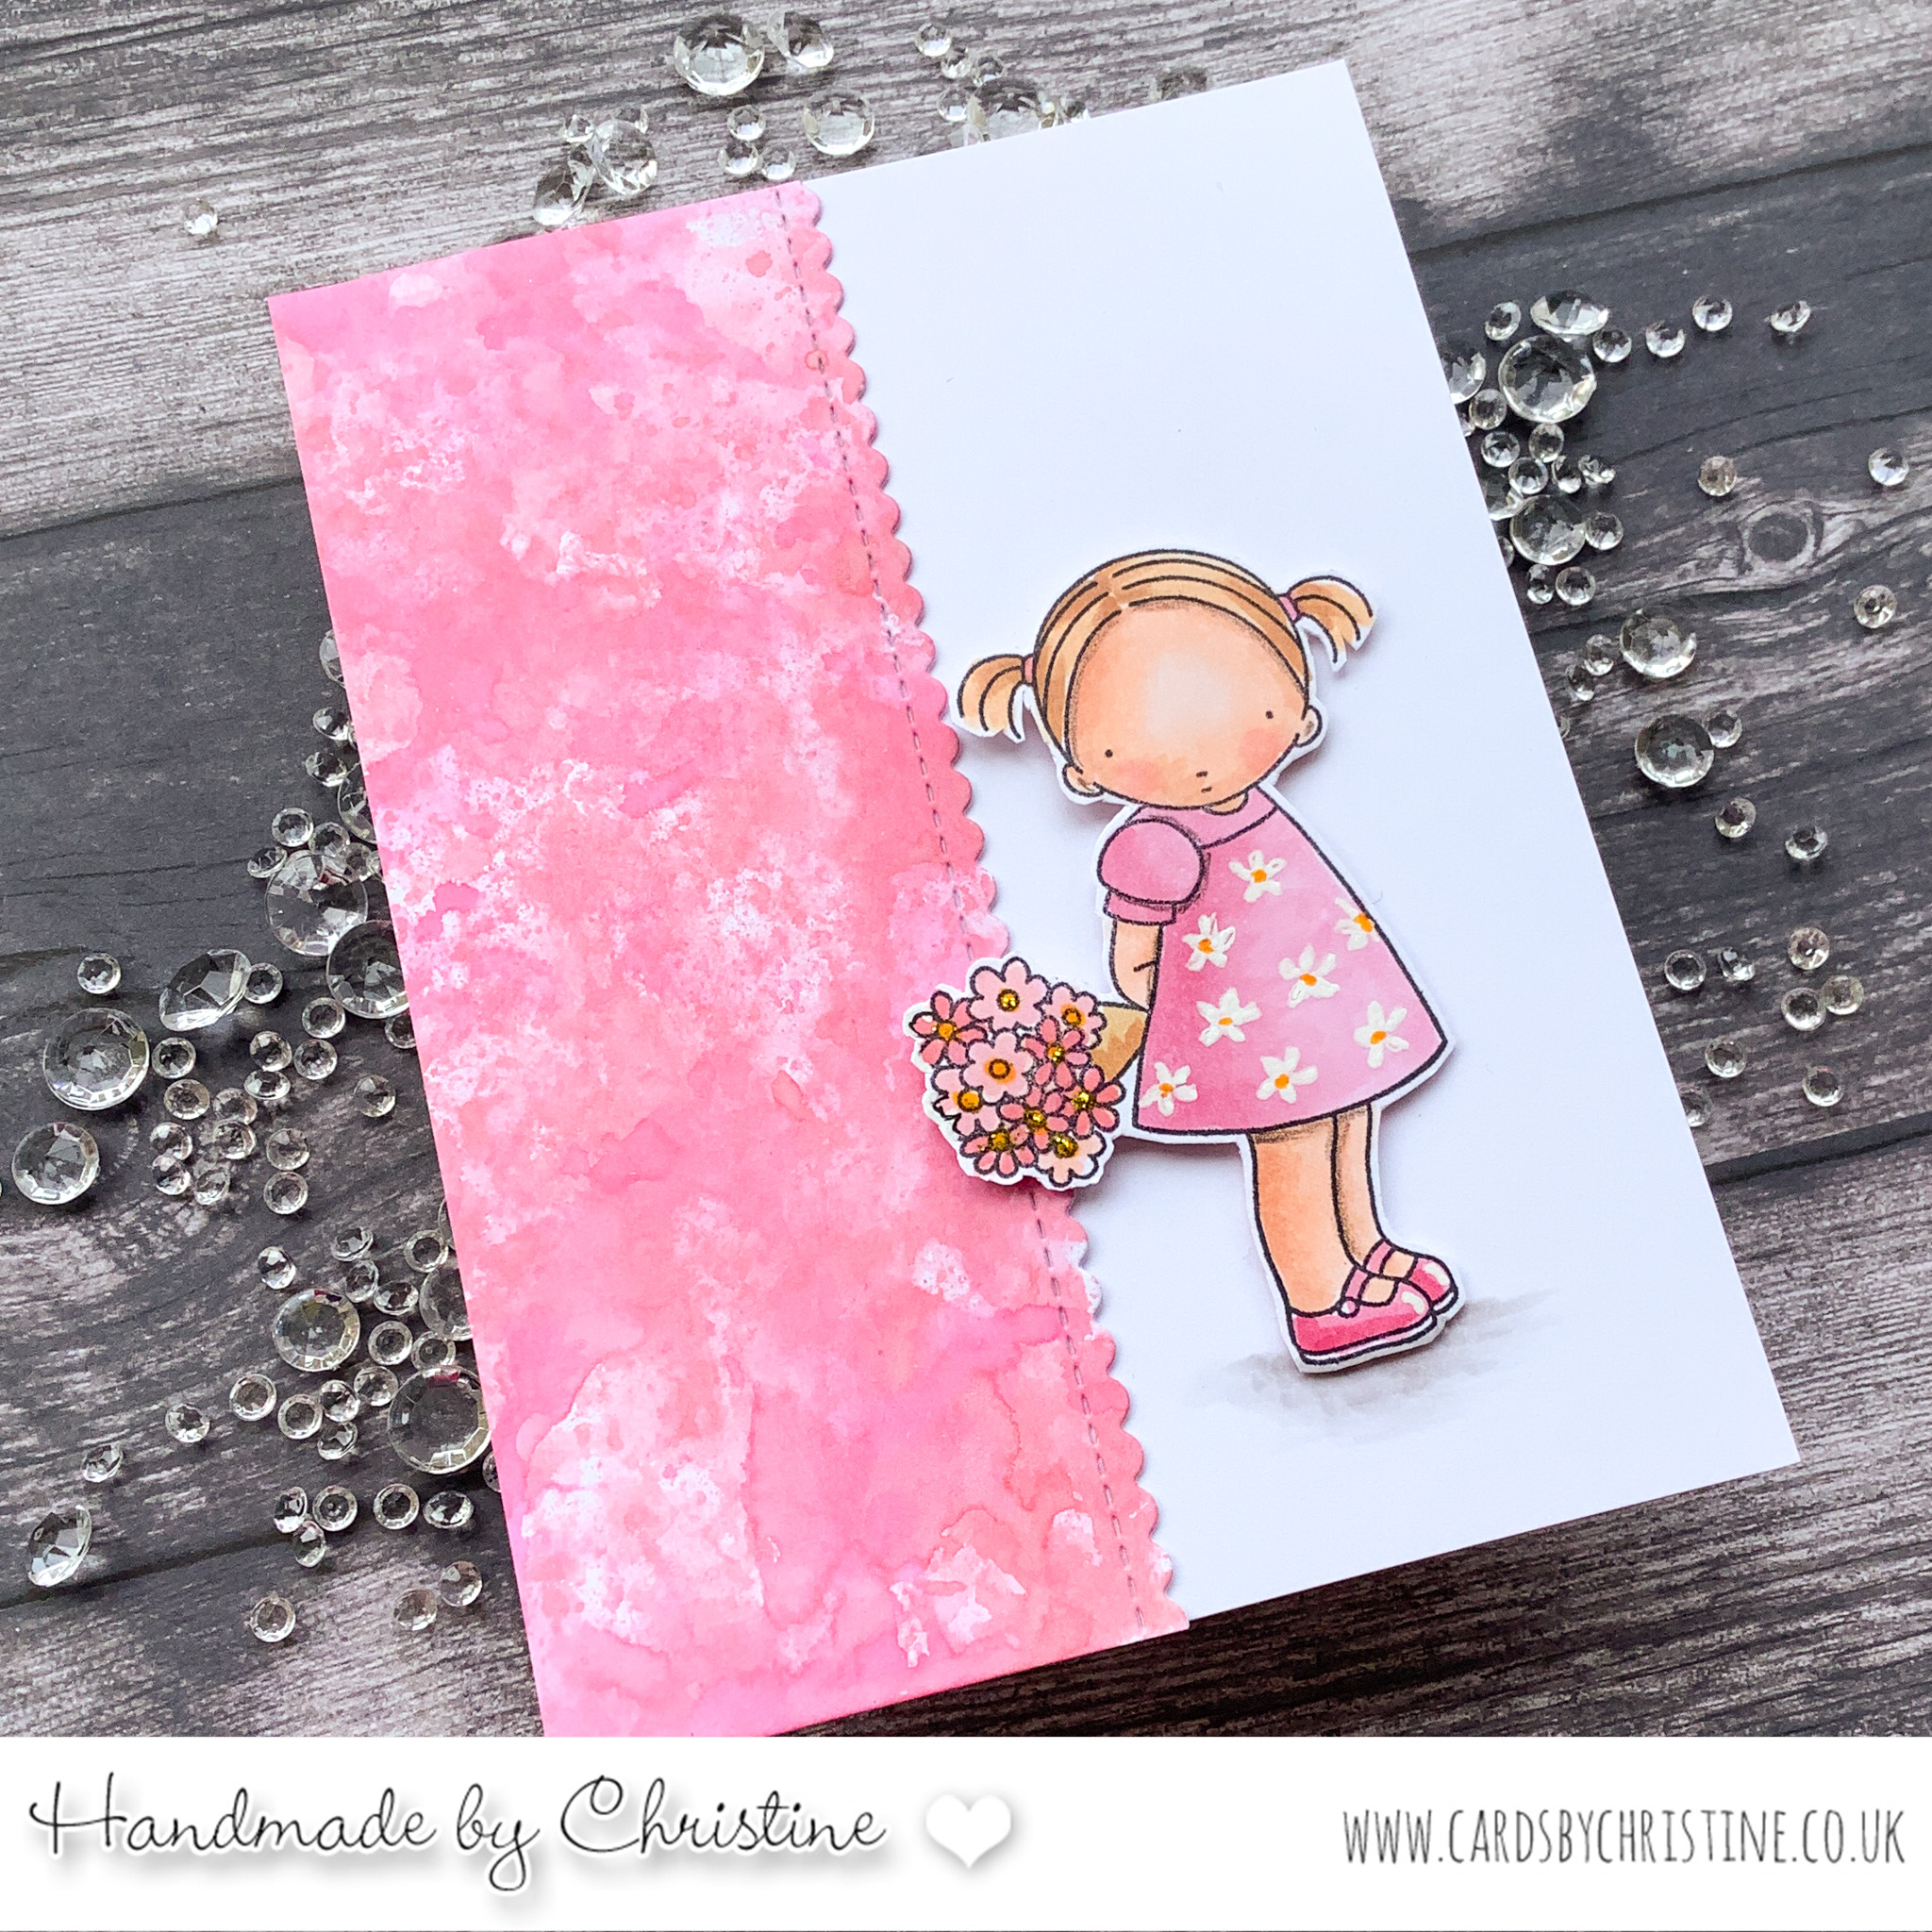
It's another older stamp from my stash - the set is called Love You a Bunch - I so love these little girlies, and really enjoy colouring and fussy cutting them.  I added some daisies to her dress with a white gel pen.

I created a smooshed background for one side of the card, then adhered the girlie slightly overlapping the smooshed side.


Card Info:
Image - MFT Love You a Bunch stamp set
Die - Pretty Pink Posh Borders Set 2
Smooshing - Picked Raspberry and Worn Lipstick Distress Oxides
Colouring - Copics
Skin - E000/00/11 R20
Hair - E23/25
Dress - R81/83/85
Flowers R30/83 Y38
Grounding T0/1
Gold Glitter
White Gel Pen for daisies on dress

I really enjoyed making this card - I didn't add a sentiment as I felt it could be used for lots of different occasions - or just to make someone's day!

Happy Crafting...

Tuesday, 2 July 2024

MFT So Much Love


Hi Lovelies...

I've been shopping in my stash again - and have dug out some MFT stamps that haven't yet been used - including this little girlie called So Much Love.  If you look closely, you can see she's doing the heart shape with her hands - which I do with my grandchildren to say I love you...  they do it back to me and my heart fills every time!

For my card, I used a Daisy Background stencil and blended rainbow Distress Oxides through.. I liked the effect.  Then, to be quite honest, I'd coloured this little girlie previously, and in the chaos on my desk, she just had landed on the daisy panel, and I realised how good she looked there!


Sooo  I adhered her with foam pads, giving some dimension.  I haven't put a sentiment on there, as I really didn't think it needed one - the heart says it all.


Card Info:
Image - MFT So Much Love (not sure if it's still available)
Stencil - Waffle Flower Daisy Background
Distress Oxides - Picked Raspberry, Carved Pumpkin, Mustard Seed,
Twisted Citron, Mermaid Lagoon, Prize Ribbon and Wilted Violet
Colouring - Copics
Skin - E000/00/11
Dress - BG10/11/13
Hair and Shoes - E21/23
White Gel Pen

I think you'll be seeing more of this girlie and her friends in the near future, there's a little pile of them on my desk awaiting their time in the spotlight!

Hope you like...

Big hugs

Thursday, 27 June 2024

40th Birthday Card


Hi Lovelies...

It was my eldest daughter's birthday yesterday - can you guess how old she was??  LOL!  

Well, her favourite colour is turquoise, so that was what I decided to go with.  I smooshed some 6" x 6" bristol smooth card with Distress Oxides for the background, then die cut a white stitched square, then cut a square aperture in the centre.  I'd die cut lots of flowers at the weekend, ready to be used to decorate around the numbers, which I'd cut from silver mirri.  I adhered the numbers then the flowers, and gave them a little sparkly centre of each with Nuvo Drops.


Card Info:
Number Dies - Paper Trey Ink
Flower Dies - no name (sorry)
Lil' Inkers Stitched Square, MFT Inside/Outside Stitched Square
Distress Oxides - Tumbled Glass, Peacock Feathers 
and Mermaid Lagoon
Silver Mirri Card
Nuvo Drops

My daughter loved her card so I'm OK to show it... hope you love it too!

Hugs...